How To Curl Lashes: Five Pro Tips

Your bag

Not all of us are blessed with naturally long, curly lashes. And if you are, lucky you! Many people have to get them to curl manually, with a little work from some lash curling machinery. We will talk about some tips and tricks to curling the lashes, as well as some options if you don’t want to have to curl those babies every single day.
The best way to curl natural lashes is with an eyelash curler. These were designed for those of us who weren’t lucky enough to have naturally uplifted lashes. There are a few different types of curlers, and you will need to decide which kind works best for you.
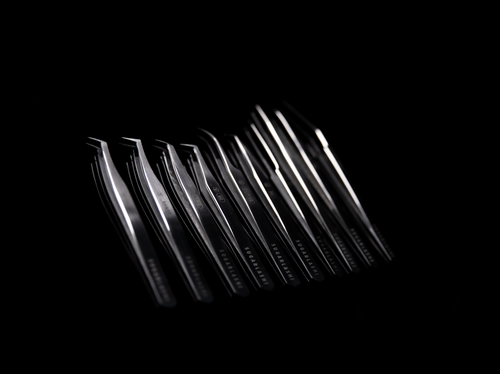
These are usually made of metal, with a rubber pad that you rest the eyelashes on when you curl them. Some have handles that you put your fingers through while you are curling, while others have handles without loops that you hold more like tongs or tweezers.
These are the most common type of eyelash curlers, and probably what you picture when you imagine an eyelash curler.
Another popular type of eyelash curler is the small, compact, plastic-type. These usually can be used with one hand just like the traditional type, but the way that they are used is slightly different. Some people prefer these because they are smaller and could even fit in your pocket.
Believe it or not, there are some eyelash curlers that are actually heated! These function the same way as a heat tool for hair such as a curling iron or a straightener. They use heat to make lashes curl faster and more effectively.
In general, all three of these types of eyelash curlers work similarly, so let’s get into the general idea about how to use an eyelash curler to curl those lashes. For our purposes, we will go over the use of a traditional curler, since it is the most commonly used type.
With any curler, the general idea is that the user will put their eyelashes through an opening, and then use their fingers to press two opposing pieces together (either plastic or metal). The lashes are tightly pressed between that material and a rubber pad, and voilà! Perfectly curled lashes. Well, sometimes. And sometimes they just look...off. We are here to help!
Curling your eyelashes takes a fair amount of work, which may seem like a true injustice to those with stick-straight eyelashes. Curling the lashes also comes with a steep learning curve, at least in the beginning. Here are some tips to help you make the most of your lash curling experience.
It’s extremely important to begin with clean eyelashes prior to curling them. Sure, it’s easy to do a quick swipe with a makeup wipe and leave some of yesterday’s mascara intact, but trust us, you don’t want to do that.
If you already have mascara on your lashes when you go to curl them (even if it’s just a little), it can cause the lashes to clump.
Even more alarming, if your lashes are sticky or tacky with mascara residue, you run a higher risk of accidentally pulling your eyelashes out with the curler. Cue the horrified gasps.
Many people are under the impression that curling the lashes is the final touch on a face of beautiful makeup. This is an understandable misconception since typically the mascara is one of the last makeup items applied.
However, the opposite is actually true! You really want to make sure that curling your lashes is done before you have your lids covered in eyeshadow and eyeliner. Mascara can still be your last stop on the eye makeup train, but you should curl the lashes before you do any of your other eye makeup, which will help you be able to get as close to the lash line as possible.
No, this is not the latest viral video craze. This is what you should remember to do when you’re curling the lashes. Some people think that you should just clamp down on the lashes and hold on for dear life until they’re curled, but this creates an unnatural-looking bend.
Instead, try this: starting as close as you can to the lash line, make sure that all of the eyelashes are inside the curler. Then, clamp down carefully as you gently squeeze and pulse for between eight to 10 seconds.
Repeat this process three to four times per eye, moving the curler down the lengths of the lashes each time. You will find that you get a more naturally curly eyelash this way, rather than a bent or crimped look. It takes a little patience, but it pays off in the long run.
This may sound obvious, but keep your eyes open! You can’t see what you're doing, nor can you get low enough to the lash line if you are closing your eye(s).
When you are first putting your lashes in the curler, you may need to lightly close the eye on the side that you are curling, but shouldn’t close it all the way. Think, perhaps 75% closed, but enough so that you can still see.
This last tip isn’t so much a tip about how to curl lashes with a curler, as it is a suggestion that there are other options. You can curl your eyelashes even if you’re on vacation and you forget your curler at home. Some creative options to try:
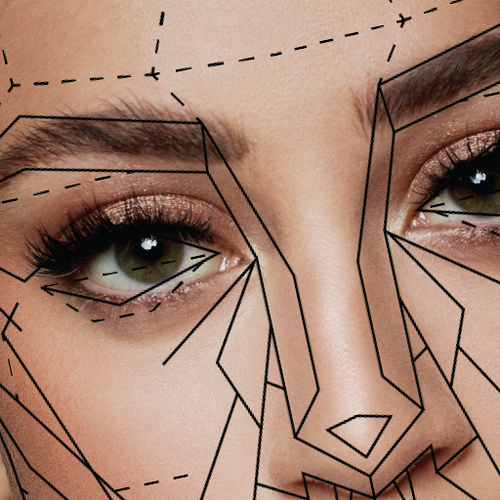
A lash lift is basically a lash perm. In contrast to extensions, lash lifts work with natural lashes. This makes it ideal for those with long, straight lashes or those who aren't ready to commit to extensions just yet.
A lash lift is a chemical procedure. As the lash technician, you will divide the upper and lower lashes, as well as apply a silicone shield to the upper lid. The lashes will then be treated with three different solutions in order to achieve the exact look that the client desires. It will just take 45 minutes to an hour to complete, making it ideal for busy people.
Some consumers may be concerned about the lifting process, but it's comforting to know that the products used in a lash lift are completely safe, as well as incredibly effective.
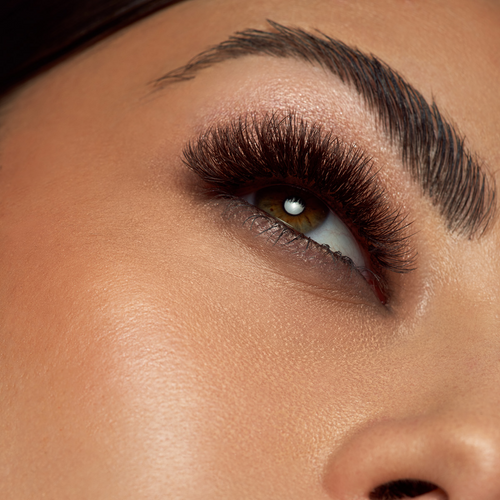
Yet another option is an appointment with your friendly neighborhood eyelash extension expert. Those who have straight eyelashes benefit from extensions the most. Many people are astounded when they make the switch to eyelash extensions, after never realizing how much time they were actually spending with their eyelash curlers.
Lash extensions are getting more and more popular for that very reason: in the long run, they make life much easier! How do lash extensions work? Here’s a quick breakdown.
Synthetic lashes are delicately glued to individual natural lashes to produce a gorgeous and individualized look. Lash extensions are used to enhance the appearance of lashes by making them longer, fuller, and darker. As long as they are administered by a skilled lash technician, they are absolutely painless and safe for the eyes.
The average initial lash extension appointment takes anywhere from one to two hours, but follow-up appointments for refills are less time-consuming. One misconception that prevents people from having the lashes of their dreams is that lash extensions are difficult to maintain. This is so far from reality!
In fact, many regular lash clients appreciate how much time they save by not having to curl or use extra mascara. This is a significant selling point, especially for people who have very straight lashes and must curl their lashes on a daily basis.
There are so many options when it comes to curling your lashes. Whether you decide to go the old-fashioned route with an eyelash curler, get creative with your silverware, or let an expert do the work, know that you are not alone in your quest for the perfect eyelashes. With a little time and practice, you will have perfectly curled lashes in no time!
Sources:
This Is How To Use an Eyelash Curler the Right Way | Southern Living
The Best Heated Eyelash Curler | The Chicago Tribune
How To Curl Your Eyelashes Without A Curler | Makeup Tutorials
OPINION: It’s high time artists started thinking like successful business owners.
Are you in this cycle? The cycle of never-ending anxiety that there HAS to be something out there that is going to *poof* instantly level up your lash skill 10-fold? A new $100 tweezer? One new solution...
What sets you apart from the rest? With the lash business growing every day, it’s more important than ever to stand out! We’re here to tell you how!
Ever wondered which lash trays are worth your hard-earned lash cash? Keep reading and we’ll discuss why lash artists around the globe agree that Sugarlash PRO lashes are one of the BEST on the market!