How to take awesome photos for Instagram
Your bag

With ever-growing interest in photo and video content, platforms like Instagram are the perfect way to get your work seen for free. The only catch? You’re not the only one trying to get noticed.
The average social media user spends around 2 hours per day on Instagram, and it’s no wonder why. With over 800 million monthly users the social market is saturated with content—exotic travel photos, charcuterie boards the average 'grammer could only dream of. Luckily for you, your current and future clients are interested in beautiful lash sets, and the best way to attract them to your business is with curated, carefully shot lash photos.

When users stumble across your photos in a hashtag search, or through your website, do they see a cohesive colour scheme? Sharp lash photos with clean backgrounds? Or do they see a muddle of colours and lighting that just don’t seem to jive? Your Instagram wall may be a potential client’s first impression of your business, so it better look bomb.
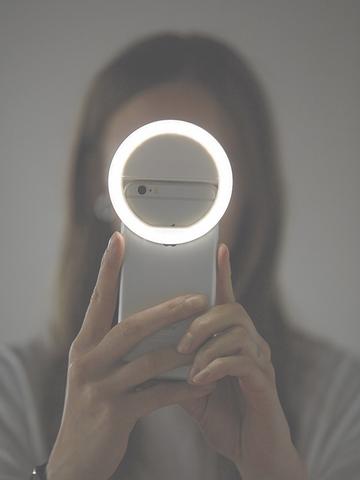
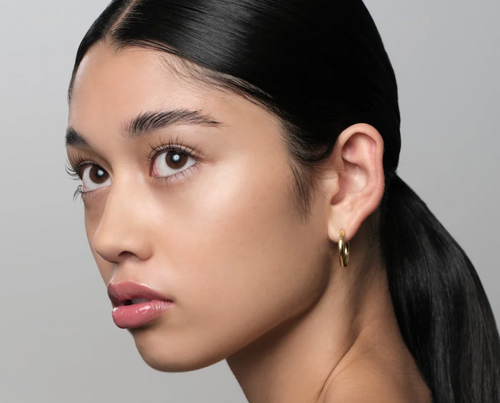
The key to a beautiful and clear lash photo is good lighting. Adequate lighting not only illuminates each perfectly extended lash, it helps your camera focus and decreases graininess in your photos. Light brightens up dull complexions, and creates greater contrast between the skin and lashes, creating definition in the lash line. Nail the catch light in the pupil for bonus points.

LashPRO Academy educator Meghan Beck capturing a double catch light from two Glamcors, and the coveted reflection of a portfolio ring light. Shop Glamcor here.
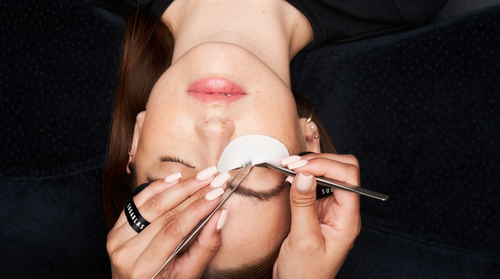
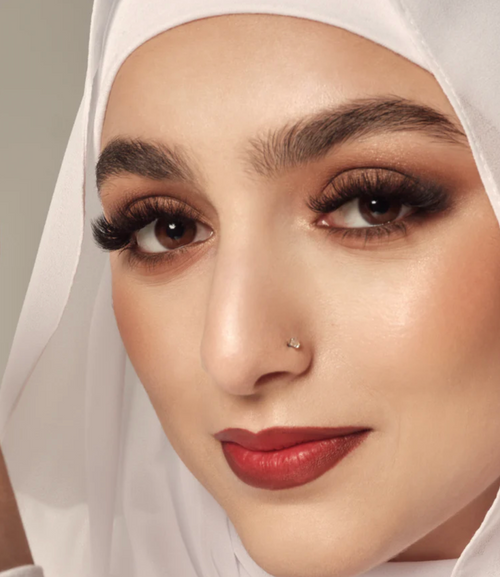
Whether you snap your lash photos while your client is still lying down, or you have them stand up against a clean wall post-mist, you should aim for a tidy background that matches your brand’s colour scheme and overall style.
 Meghan utilizes her client’s hair for natural, flowy backgrounds. Channel Dior by having your client stand in front of a coloured wall.
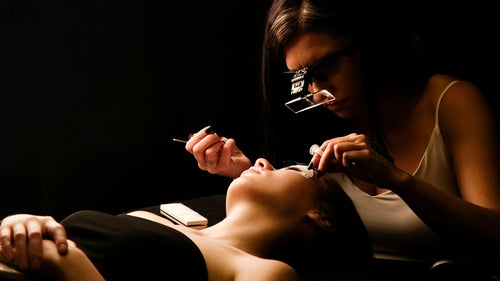
While your subject matter isn’t likely to change too much, playing around with depths and angles adds a different element of artistry that your clients will be happy to see. Aside from adding interest to your lash photos, varying your shots shows your clients that you’re not only a technically proficient lash tech—you’re an artist with an eye for style.

Vannie Llamas utilizes different angles and depths to create visual interest on her Instagram wall.
After spending hours on your client's lash set, setting up your background, shot, and perfecting your catch light, the last thing you want is a stray lash violating your photo. Before you snap your perfect shot, tidy up any stray lashes, and give your set a good brush—you want your followers to see your work at its best.
PRO Tip: A lot of artists forget about their client's eyebrows. During your appointment your hands rest on your client's brows, disturbing the careful groom they came in with. Before you snap your photo, do your client, and your Instagram wall a favour, and brush the brows.
It might feel a bit awkward holding your phone inches from your client’s face, but moving your camera closer to your subject—rather than zooming—will get you a clearer photo every single time.
The science: "When you zoom, you decrease the resolution by enlarging the pixels," says photographer Aaron Pedersen. Your photos will become pixilated, and you'll lose the definition you need to see the lashes.

Both of these photos were taken in the same lighting conditions, and have not been edited. The photo on the left was taken with the camera very near to the lashes, while the photo on the right was taken from a reasonable distance using zoom. Notice how all of the definition in the lashes has been lost in the second photo.
The number one problem we see with lash photos is over-editing. Your clients’ skin should never look blurry, and a little unevenness never hurt anybody. It’s one thing to erase a blemish, or liven up a tired complexion, but your lash photos should look as natural as possible. If your client has a lot of redness, or a breakout they don’t want the world to see, go for a close-up on the eye instead. When it comes to editing, play around with brightness, contrast, and shadows just enough to help your photos look their best.

Notice how the skin is bright and even, but not blurred—and you can see every single lash.
VSCO, Later, and other third-party Instagram apps let you see your photos in a grid before you post them. This way you can check that your photo looks good on your wall before you actually publish it there. Notice how your photo looks with the one beside it and below it. If it fits the overall feel and style of your wall, awesome. Post it! If it’s a bit off, no worries. Tweak your editing or filter level until it looks just right. If it still doesn’t fit, keep it for your own records, but leave it off the wall. Your business Instagram page isn't just photo storage, it's free marketing. So save it for your best work and your best shots, and let the follows roll in.
The beauty industry is evolving and so are the challenges lash artists face.
As lash artists, we spend so much time perfecting our technical skills, but that alone isn't what builds a successful, long-lasting business.
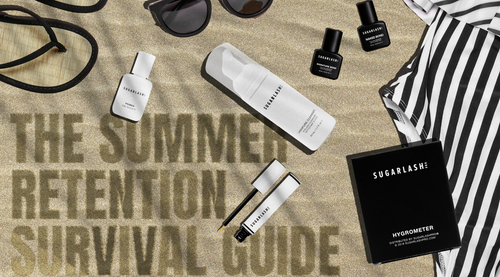
Summer is one of the busiest and most exciting seasons for lash artists.
Lash lifts are having a major moment – and it's easy to see why.
When it comes to bridal lashes, the little details matter.