Taking Shape - By Guest Editor Sarah Maxwell

Your bag


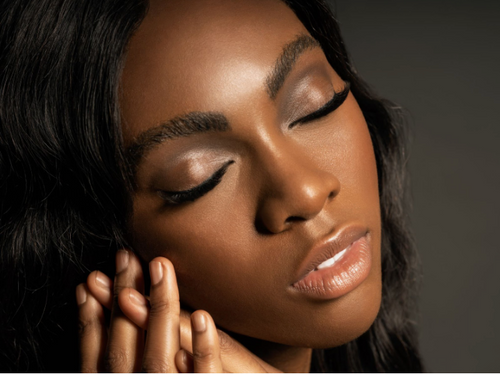
As a makeup obsessed lash stylist, I wanted to take a closer look at using lash placement, along with the use of makeup, to emphasize different eye shapes. Yes, I am also a makeup artist, so exploring this subject came naturally and was fuelled by many
years of practice and passion!
There are four basic eye shapes that us ladies like to achieve, which are natural, open,
cat, and doll eye. I decided to showcase each eye shape on the same beautiful model,
Grace. This way we can see how with the power of lash extensions, makeup, and specific placement, we can achieve all four shapes no matter what eye shape we start with.

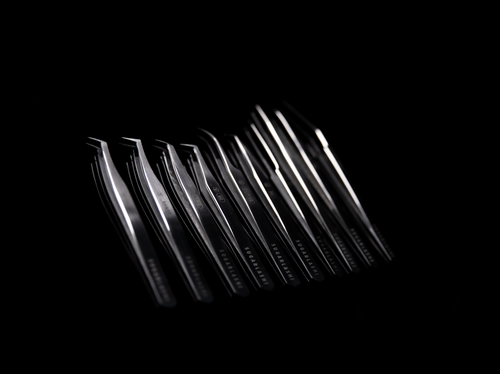
Using a Silk lash in a B-curl, I did a light set of extensions covering 50% of the natural lashes.
Taking into consideration Grace’s natural length and lash width, I decided to use a 0.15 diameter and a lash pattern of 8-10-12-10-8. Grace’s longest natural lash was about 12mm in length, so an extension of the same length helps keep the lash-line looking natural, while adding a small pop to the eye.
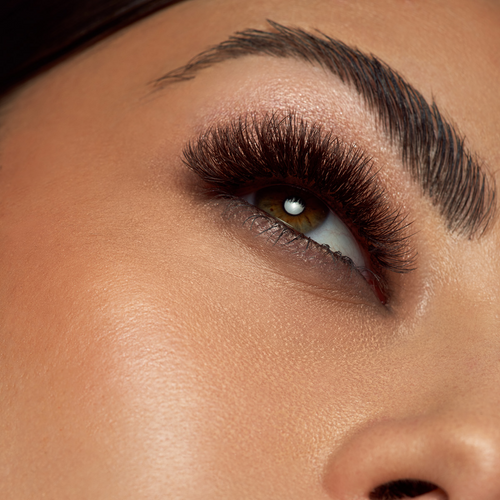
Using a light wash of foundation around the eye area, rather than a concealer, allows for the skin to look flawless but natural. Brushing the brows up and away and using a clear brow gel also keeps the look au-natural!
I emphasized the natural shape of the eye, by bringing the lash-line up to the brow bone, adding a wash of bone-coloured eyeshadow on the lid, and a beige/brown shadow swept into the natural shape of the eye socket. Finally, I pressed a charcoal coloured eyeshadow into and long the lash line.
The natural eye look should always showcase the eyes' existing lines and shapes, accentuating them in a subtle way.
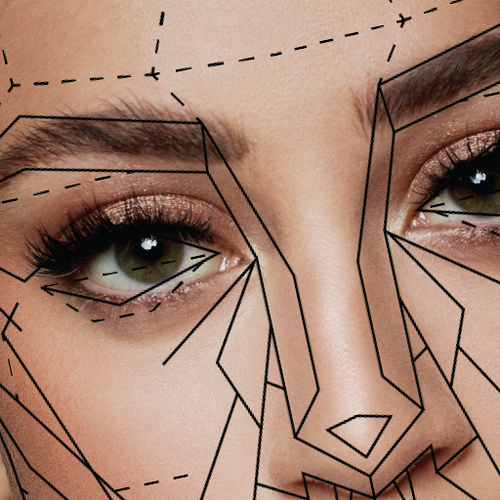
I decided that rather than creating a whole new set of lash extensions, I’d add specific length and density, creating an open eye shape. This way, we could see the impact in using the same eye, adding and building to show how it is possible to use lash-positioning, and the correct placement of makeup to achieve different eye shapes.
Taking into consideration where the arch of Grace’s brow was, I mapped out that I would add more density across the high point of her brow, using 12mm to keep in line with the shape and size of our previous set of lash extensions. I then added 13mm and 14mm lash extensions in 2D volume, concentrating them at the brow’s arch. When this area of the eye has added impact, it creates the illusion of a more open eye.
The makeup I chose, focused on creating shape and space around the high point of the brow.
I used a concealer for under the eye to cover up any darkness, as well as using some concealer below the arch of the brow, to highlight and create an open effect. I then took a brow pencil in a lighter shade than the natural colour of the brow, focusing most of my hair strokes throughout the brow arch, and blending its colour evenly. Continuing my focus on high points of the eye, I added some width to the eye liner, slightly rounding it into the crease at the line of the brow bone. Following that same line, I pressed and swept more colour in the eye socket, placing it in that same line.
Allowing all the emphasis to stay concentrated to the arch of the eye creates an open eye effect.

To create the effect of the eye extending out and up at a perfect angle, I started by adding more lift outward, with the use of lash extensions. Keeping in mind that I didn’t want to over-extend and create a droop effect, I decided to create a cat shape with the use of C curl lash extensions.
On previous eye shapes, I had used a B curl. Taking the shape of the lashes slightly out towards the tail of the brow, I added more 14mm lash extensions in both classic and 2D volume. If the extensions go too far out, it will start to create a down-turned eye. Be mindful of how far out you bring out your length.
I started my makeup application with a winged eyeliner. To create the perfect shape for the liner, I focus the end of my wing to the end point of the brow. Creating more depth in the colour and width of the eyeliner will allow for the needed drama for a perfect cat eye. I then extended my crease colour outward and upward on both sides of my winged liner, creating emphasis and shape to this area of the eye. Extending the tail of the brow, with more product deposit towards the temple, will continue to add attention to the cat eye shape. Finally, I dipped back into my concealer to clean up and sharpen my lines, both under the winged liner and along the outer brow area.
To round out the eye, allowing me to create more of a doll shaped eye, I added length throughout the lash line.
Evening out my existing lash shape, I added lash extensions through the inner half of the eye, mixing C and B-curls, with 12mm, 13mm, and 14mm in both classic and 2D volume.
Using the previous look, I removed the tail of my winged liner, and I slightly extended the width and curve of the liner to keep that rounded doll eye shape. I extended my crease line into the inner corner of the eye, keeping my stokes rounded in a half moon shape. Following that same curved line, I added more product to the lower brow towards the head of brow, then blending up into the hairs. Bringing a small amount of the eye liner under the eye in the outer corner, creates the illusion of a round eye shape. Adding concealer to the inner corner of the eye, adds openness, and brings the eye to a full doll shape.
OPINION: It’s high time artists started thinking like successful business owners.
Are you in this cycle? The cycle of never-ending anxiety that there HAS to be something out there that is going to *poof* instantly level up your lash skill 10-fold? A new $100 tweezer? One new solution...
What sets you apart from the rest? With the lash business growing every day, it’s more important than ever to stand out! We’re here to tell you how!
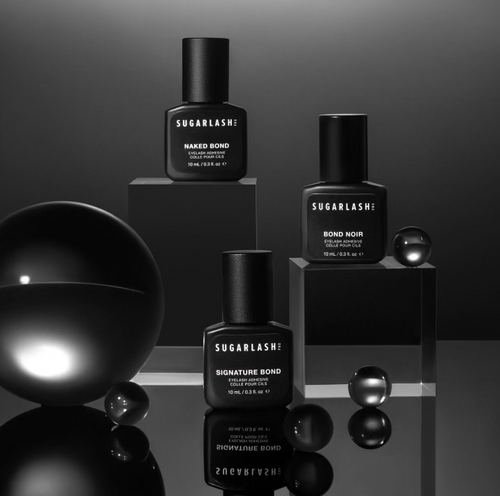
Ever wondered which lash trays are worth your hard-earned lash cash? Keep reading and we’ll discuss why lash artists around the globe agree that Sugarlash PRO lashes are one of the BEST on the market!