All About Isolation

Your bag

Isolation has to be one of the most deceiving and underrated skills in the industry. How many of you as new lash artists have watched YouTube videos or IGTV's, thinking I can totally do that! Then there you are sitting in your first course feeling like Edward Scissorhands and all of his awkwardness.
Patience, practice, tape methods, tweezer types, using appropriate pressure, hand placement and utilizing your clients forehead for support all come together and next thing you know, isolation is a breeze! So how do we get to that point?

I'm not just talking about practicing with a mannequin. Dive right into a natural set! Offer a demi-set to a friend; this is where you apply an extension to every other lash. Get to know the texture and flexibility of the natural lashes. Being able to identify different lash types will help you gain confidence in choosing proper lengths and diameters, when applying extensions to future clients. Take deep breaths, have realistic expectations, then set a time limit and stick with it, this will help you avoid discouragement and back-breaking sets.
Paper tape is your best friend when isolating! Let’s go over the top three ways you can use paper tape to simplify isolation:
1. Exposing the inner lashes
You can use tape by adhering horizontally to the inner eyelid then lightly pull the tape outwards and securing it to the skin. This technique will help to expose those tricky inner lashes. This little tip in particular has helped me cut 20-minutes or more off my sets.
2. Pulling lashes up off the eye pad
To lift those flat laying lashes up, adhere a piece of tape vertically to the centre or outer eyelid and slightly lift the lashes. This will help so they are no longer touching the eye pad. Be sure to use a lash mirror to ensure you aren't lifting the eyelid open, this can lead to fume exposure resulting in irritation of the conjunctiva.
3. The tape up method
Take a piece of tape a bit longer than the length of the eye. Hold the tape horizontally across the lash line, catching 1/3 - 1/2 of the extension onto the tape then adhere the tape flat against the eyelid. All those sneaky lashes you missed will pop right out and little if any isolation will be needed. This method is very helpful during fills and the completion of full sets.

When holding isolation tweezers, use your index, middle finger and thumb to apply pressure. Use your pinky, ring finger, and pads of your hands on the forehead for support. Once you have this support, you will have more stability with your tweezers and your wrists will surely thank you for it!
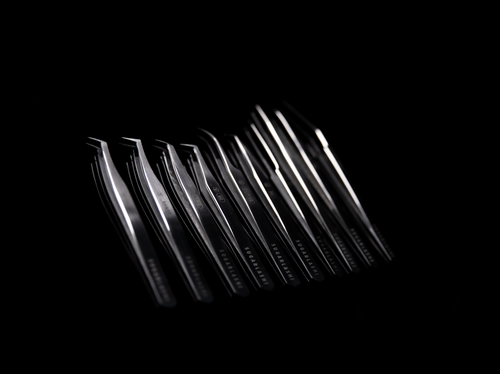
ONE TYPE OF TWEEZER DOESN’T FIT ALL! For example, it's been taught in several courses to use a straight tweezer for isolation. Personally, I’ve had success using angled tweezers. My favourite Sugarlash PRO tweezer is the V-35 (Volume Pick-up Tweezer) in the 120mm length because I have small hands. A change in your isolation game could be as simple as trying different types and lengths of tweezers until you find the one that matches your isolation style.

When holding isolation there are different levels of pressure you should apply. If you come across a lash that is super easy to isolate and sits off the pad, then regular or lightweight pressure is necessary. If you've used your tape up method and the lashes are still laying flat against the eye pad, then use a little extra pressure when isolating. This will push the eye pad down just enough to let that flat laying lash pop up, allowing you to adhere to the natural lash without adhering it to the eyepad. Avoid hard pressure at all costs, this could open the eye or cause a slight slip which could be dangerous.
Try at least 2 of these techniques in your next set and I am confident you will see a dramatic improvement in your pace and ease of isolation! Remember...the job is never fully done until you've checked for stickies!
Until next time!
SLP Educator, Meghan T.

OPINION: It’s high time artists started thinking like successful business owners.
Are you in this cycle? The cycle of never-ending anxiety that there HAS to be something out there that is going to *poof* instantly level up your lash skill 10-fold? A new $100 tweezer? One new solution...
What sets you apart from the rest? With the lash business growing every day, it’s more important than ever to stand out! We’re here to tell you how!

Ever wondered which lash trays are worth your hard-earned lash cash? Keep reading and we’ll discuss why lash artists around the globe agree that Sugarlash PRO lashes are one of the BEST on the market!